


Tel Number
181-3719-5600
As a commonly used fast heating and cooling electric furnace for thermal treatment, the RTP rapid annealing furnace is highly favored by the semiconductor industry, university laboratories, and industrial and mining enterprise laboratories. So, what aspects should be paid attention to before using the RTP rapid annealing furnace? Let’s take a detailed look below!
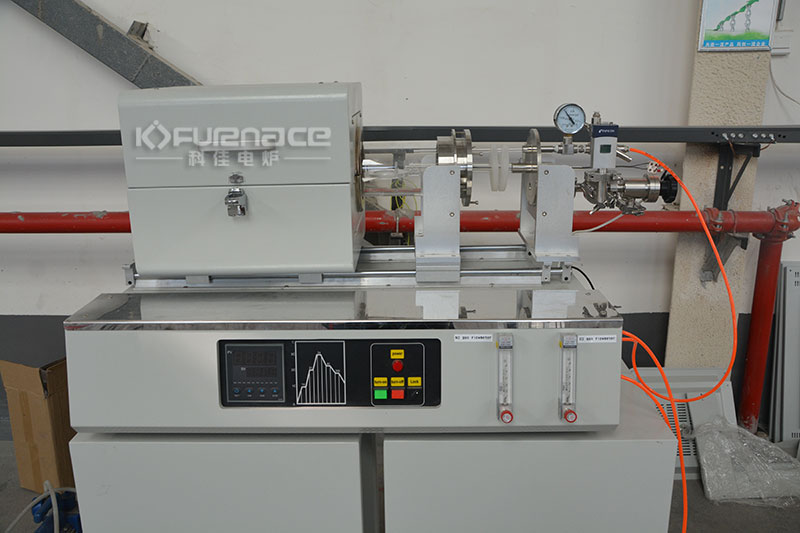
Commonly used RTP fast annealing furnace (click on the image to view product details)
1. Preparation before operation
Equipment inspection:
Confirm that the water level of the cooling system (such as a chiller) is normal and can circulate to avoid high temperature damage to the equipment.
Check the oil level of the vacuum maintenance system to ensure that the vacuum degree meets the standard (such as ≤ 10 ⁻ ³ Pa).
Verify whether the gas pressure (nitrogen, hydrogen, etc.) meets the requirements to avoid experimental failure or danger caused by abnormal gas pressure.
Sample preparation:
The sample should be placed in the center of the sample holder to ensure that the thermocouple wire is correctly inserted into the hole and avoid temperature sensing deviation.
Avoid overloading or overloading to prevent equipment from being overloaded and causing damage.
Handling after initial use or long-term discontinuation:
Bake at 120 ℃ for 1 hour and 300 ℃ for 2 hours to prevent furnace cracking.
2. Equipment startup
Turn on the air circuit switch:
Open the gas circuit switch for compressed air and process gas.
Device startup:
Swipe the card to access the computer.
Press the green button to power on the device, wait for the program to start and for the instrument to self check after power on.
3. Layout layout
Pull out the tray rack:
After the instrument self-test is completed, the screen displays the main interface. At this time, gently open the door latch handle and pull out the tray rack.
Put in the sample:
Place the sample and confirm that the thermocouple wire under the tray is correctly placed in the hole.
Slowly push back the tray rack and close the door latch handle. This step is very important, as if the thermocouple wire is misaligned, it will result in inaccurate real-time temperature sensing.
4. Software operation and program editing
Open the software:
Open the data display operation platform, enter the test sample information, and check if the communication is normal.
Program editor:
Click on the program number bar to open the program dropdown selection list.
By setting up temperature rise, insulation, and cooling programs through software, ensure that the temperature curve meets the material requirements (such as nitrogen annealing at 400 ℃ for 5 minutes).
Heat up to the target temperature at the set rate. For example, turn on N2 inlet and vacuum pump to provide a flowing nitrogen atmosphere.
Maintain the target time at the set temperature and atmosphere. For example, maintain a constant temperature of 400 ℃ for 300 seconds under a flowing nitrogen atmosphere.
Vacuumize to the target pressure. For example, the vacuum value is set to 0.01hPa, which means that the step ends after evacuating to 1Pa.
Inflate to the target pressure. For example, turn on N2 and set the rate to fill the chamber with nitrogen gas; The vacuum value is set to 1013hPa, which means the step ends after inflating to one atmosphere.
5. Process begins
Program inspection:
After completing the program editing, check once to confirm that there are no errors, click save the program, and then click return to the main interface.
Start running the process:
Click to start running the process.
During the manufacturing process, the real-time operation status, temperature, pressure, process time, and other information of each functional module can be observed on the screen.
6. Sampling and shutdown
Sampling:
After the test is completed, wait for the furnace temperature to drop below 100 ℃, then turn off the instrument cooling device and vacuum maintenance system.
Confirm that the metal lock cylinder on the left side of the door has bounced back (if it has not bounced back, it may be due to the lock cylinder getting stuck. Press the door latch handle slightly inward to make the lock cylinder bounce back).
After opening the door, slowly pull out the tray rack for sampling.
After the sampling is completed, push it back to the tray rack and wait for the instrument to self check again.
Shutdown:
After the self-test is completed, press the red button to shut down.
Swipe the card and get off the machine.
Close the pneumatic valve.
Turn off the main power supply.
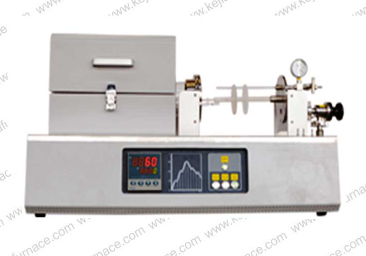
A commonly used RTP rapid annealing furnace (click on the image to view product details)
Summary:
When using the RTP fast annealing furnace, it is necessary to strictly follow the user manual. If you encounter any problems that cannot be solved, you can check the nameplate on the back of the furnace, find contact information, and contact the original factory technicians for instructions on the operation steps. Please do not operate randomly to prevent danger or damage to the equipment.Click to learn more RTP Tube Furnaces! Or click on online customer service to learn more about product information!
Contact Information
E-mail: